Do you own a Fujifilm X-T4 but don’t know how to set up tether shooting Fuji X-T4 to a PC/Mac in Capture One or Lightroom? You’ve come to the right place because I have put together a simple guide for Fujifilm users who want to connect their camera to a PC/Mac for tethered photography with these essential tools and camera accessories for the X-T4. It’s difficult to find a tether shooting Fuji X-T4 guide on the internet, so here we are.
When we shoot in the studio, we sometimes want to see the result right away because it may be difficult to see on the camera’s LCD screen. We will be able to preview the photoshoot results on a larger screen on a laptop or a larger LCD monitor by connecting the camera to the PC/Mac for tether shooting on editing software. We can also edit the images on the spot.
This tethering setup is ideal for beginning photographers interested in studio photography including product shoots, food photography, or portraiture photography. We will be able to instantly select the best option and wrong during a photoshoot if we use tethering.
But first, you need to know how to connect the USB-C type cable on Fujifilm X-T4. Thanks to Pal2Tech, he also explained some basic steps on how to set up connect USB cables to Fujifilm cameras.
USB-C Tether Cable For X-T4
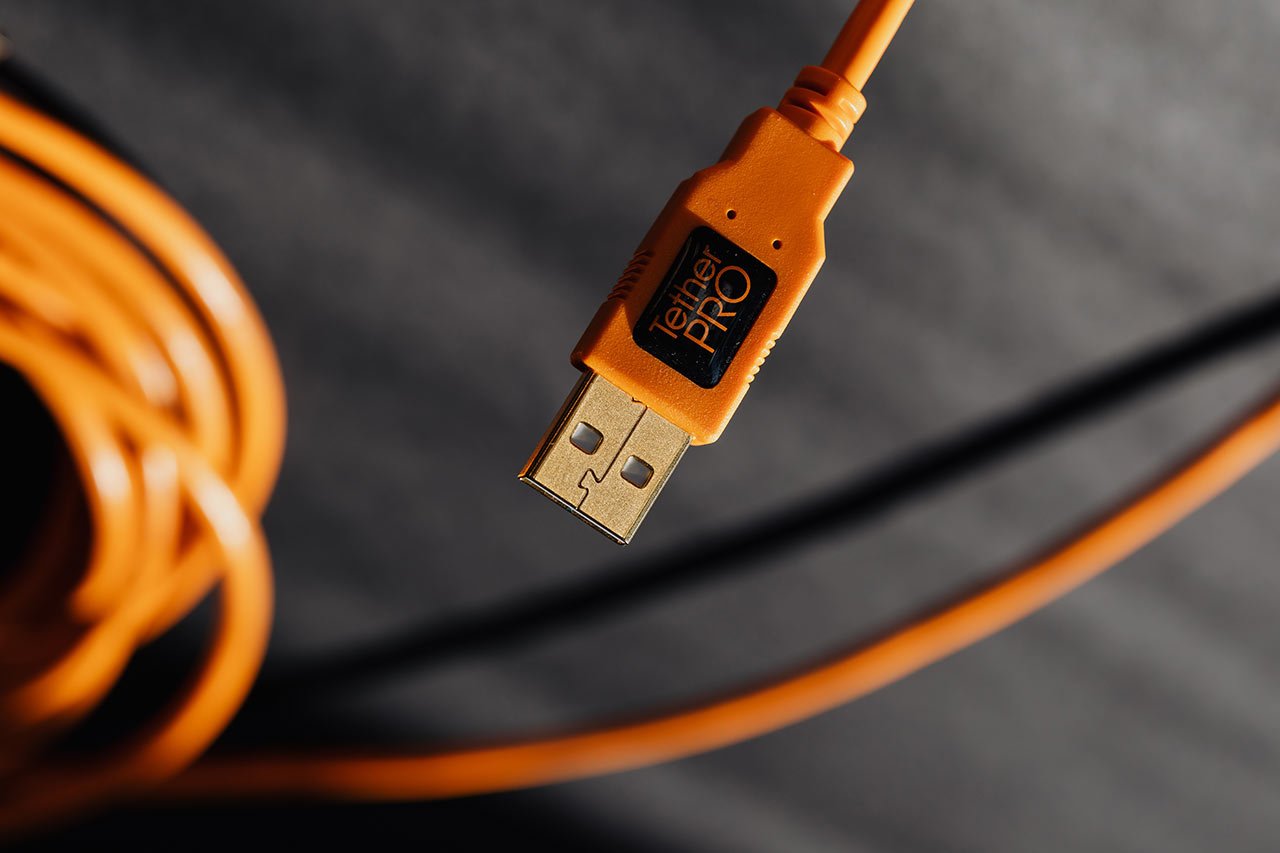
A suitable tethering cable for Fujifilm X-T4 is required if you are shooting with a Fuji X-T4 camera. Keep in mind that NOT all USB cables will work because some USB cables only function as charging cables. To shoot tethering with the Fujifilm X-T4, you’ll need a USB 3.0 to USB-C data transfer cable. The images can be transferred and saved directly to your computer by using a data transfer cable.
Fujifilm Camera Setting For Tether Shooting
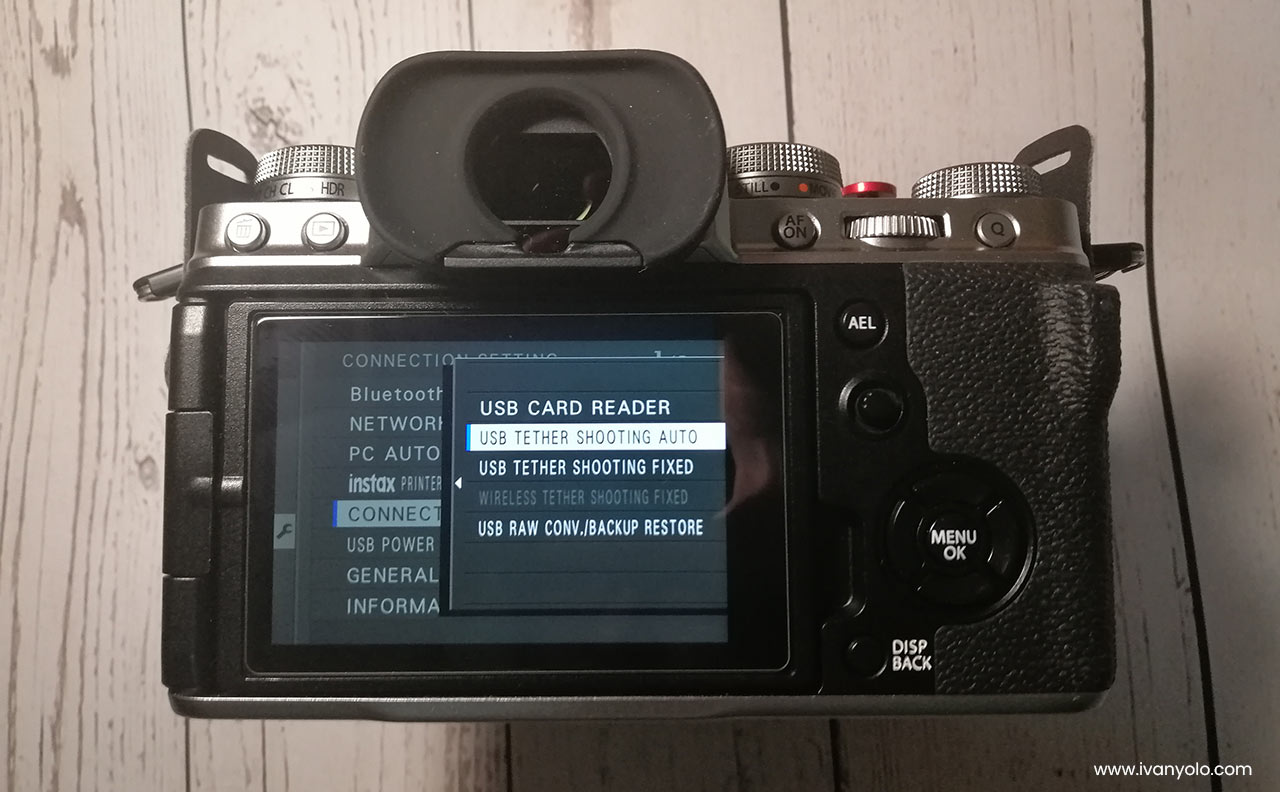
Now go to the SET UP > CONNECTION SETTING > PC CONNECTION MODE and choose the ‘USB Tether Shooting AUTO‘ or ‘USB Tether Shooting FIXED‘ option. This is a very important step, both works just right for me. You can find out more details about the Connection options on Fujifilm website.
Tethering X-T4 to Capture One / Lightroom
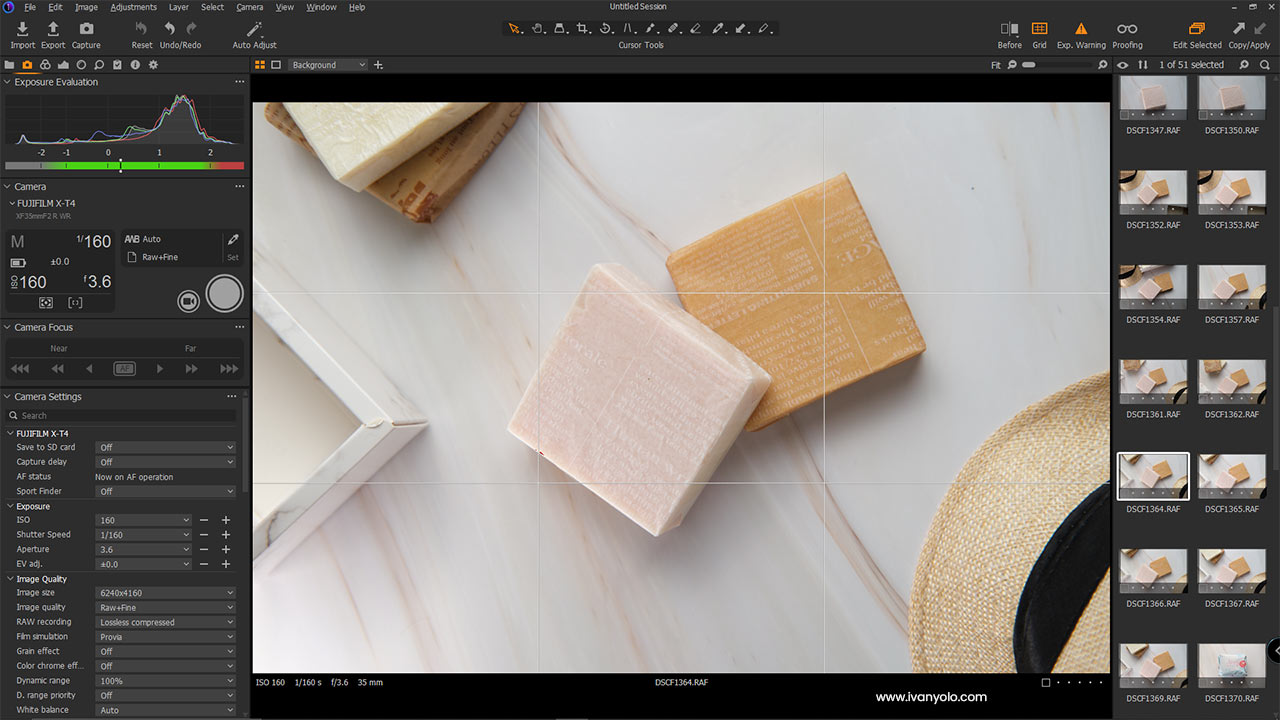
Once your camera is connected to the PC/Mac, open Capture One photo editing software and go to the ‘Capture’ tab, you will be able to see your camera settings. Go ahead and create a New Session under File > New Session if needed. Here you will see the live camera’s settings including the histogram, aperture, ISO, shutter speed.
Voila! You have successfully set up tether shooting Fuji X-T4 and ready to shoot. You can either shoot with your camera shutter release or a simple click on the red button on Capture One to take a picture!
I hope this guide is useful to Fujifilm users who want to do tether shooting. All you need to do is get a high-quality USB data transfer cable for your Fujifilm camera models. You don’t want to end up having to buy a standard USB charging cable. For tethered shooting, different camera models use different USB connections.
To ease your pain for searching, here I recommend using TetherPro USB 3.0 to USB-C or ONSMO tether cable for your Fujifilm X-T4. Always remember to ask the seller if their cable is compatible with the camera.
Happy tether shooting!


4 Responses
Hi Ivan,
Have you had any issues with the cable randomly disconnecting? That is the problem I have. I can’t find a solution. The manual for Fujifilm says to use a cable no longer than 4.9ft. I am using a 15ft tether tools cable. Let me know if you have any insight in how to fix it.
Thanks
Darren
Hi Darren,
Maybe you can try a shorter cable as recommended by Fujifilm or another PC/laptop, the long tether cable I’ve used for other software will get disconnected as well, but when used on Capture One, there is no issue.
Best regards,
Ivan
Hi, I notice the TetherTools cable link has a strikethrough. Do you no longer recommend it?
Hi Dale, yes it is still on the list of recommendations. The strikethrough is probably because the product is either out of stock or temporarily has a link broken. It has been fixed. 🙂