Do you want to know how to store film simulation recipes with custom settings? This post will reveal the steps for storing custom film recipes on your camera after showing what are the best vintage film simulation recipes I’m using on my Fujifilm X-T30.
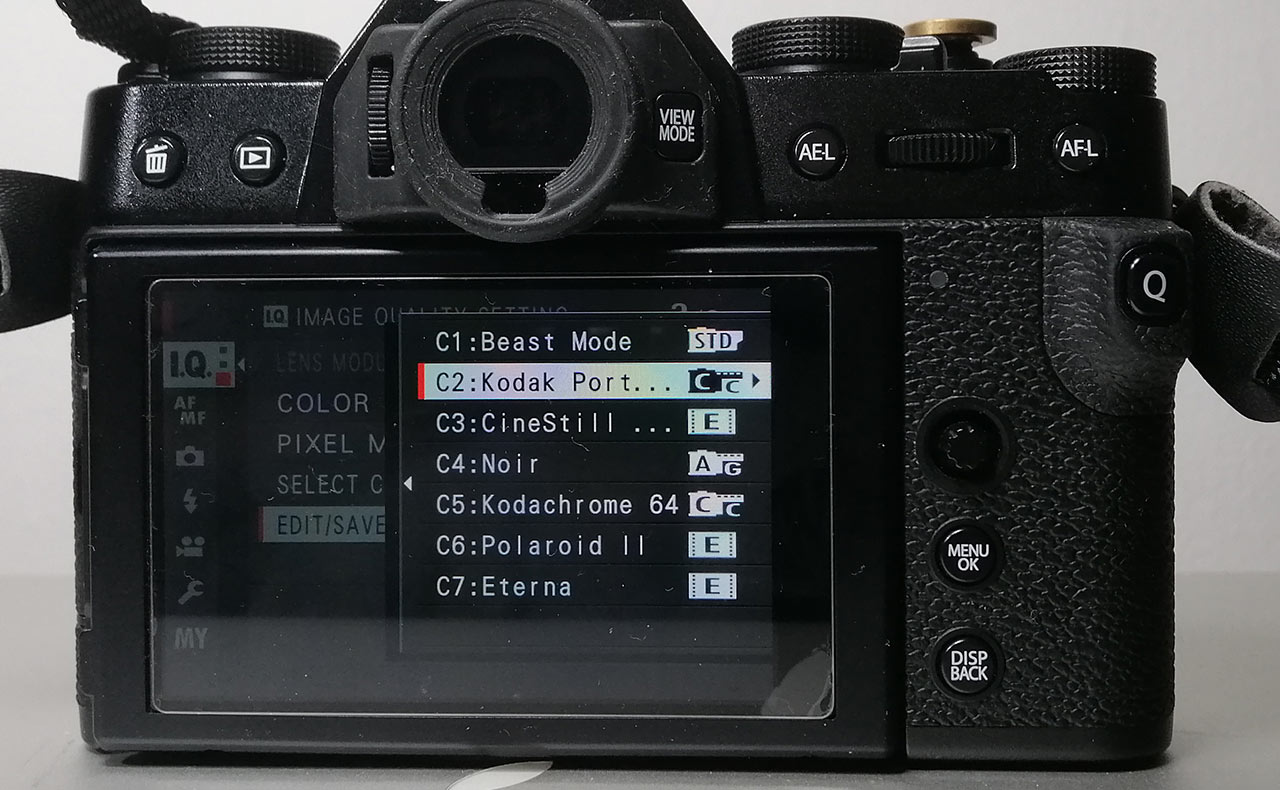
We can quickly access and select any film simulations, including the original and custom film recipes, by pressing the Q button on the Fuji camera. On Fujifilm cameras, as previously stated, we can save up to 7 custom film simulation recipe settings.
As for the white balance of each film recipe, it is recommended to choose a custom film recipe with a different WB selection. To make it simple, I choose each recipe that uses only one white balance for one recipe. For example, CineStill 800T uses Fluorescent Light 3 and I only set the WB just for the recipe and avoid using another recipe with the same Fluorescent Light 3 white balance. The white balance adjustment is shared across all custom film recipes, if you alter the White Balance Shift, it will also affect the WB shift of other recipes as well. So it is best to use only one specific white balance for one recipe. Kodak Portra 400 film recipe for portrait photographers, uses Daylight White Balance, so make sure you only use the White Balance just for the recipe itself.
In terms of which film recipes custom settings to use, you can either use the Fujixweekly custom film simulation recipes or create your film recipe style. You can also search for some of Fujifilm’s most popular custom film recipes, which are used by other Fujifilm photographers. If you are looking to create something out of the box, feel free to read more about how to shoot portraits with cinematic effects.
Setting Up The Custom Setting for Film Simulation Recipes
Let’s get started on how to store a custom film recipe setting for the Fujifilm X-T30 with an X-Trans IV sensor.
Step 1 – Choose your favorite film recipes custom setting

Choose an X-Trans IV film recipe from the Fujixweekly website or the Fujifilm recipes that you would like to store in your camera for taking vintage still images. All film recipe settings are available, including ISO, Noise Reduction, Film Simulation, Highlight, Sharpness, Color, Dynamic Range, and White Balance.
Step 2 – Choose The Right Shooting Mode
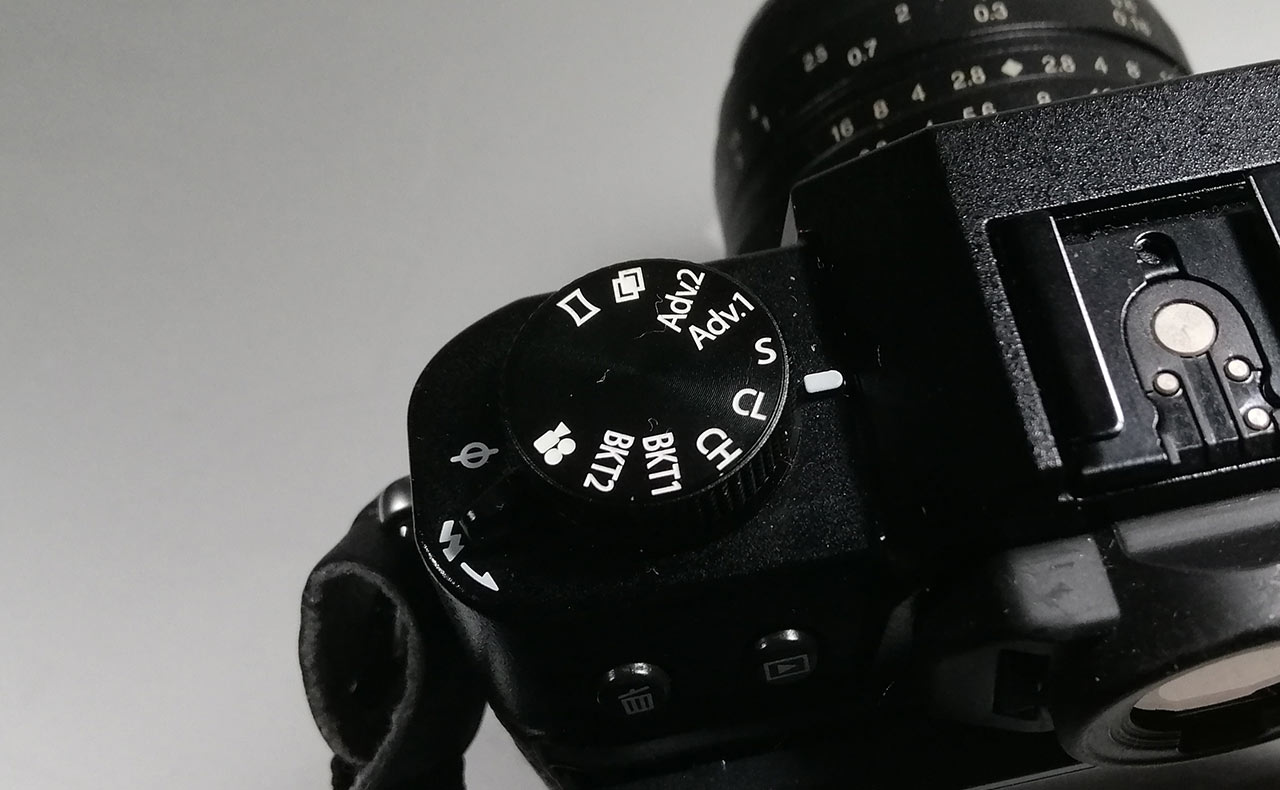
First, make sure the standard shooting mode is on S mode for the still image. If another mode is selected such as video, panorama mode, etc, the I.Q option and will be greyed out.
Step 3 – Create A New Custom Setting
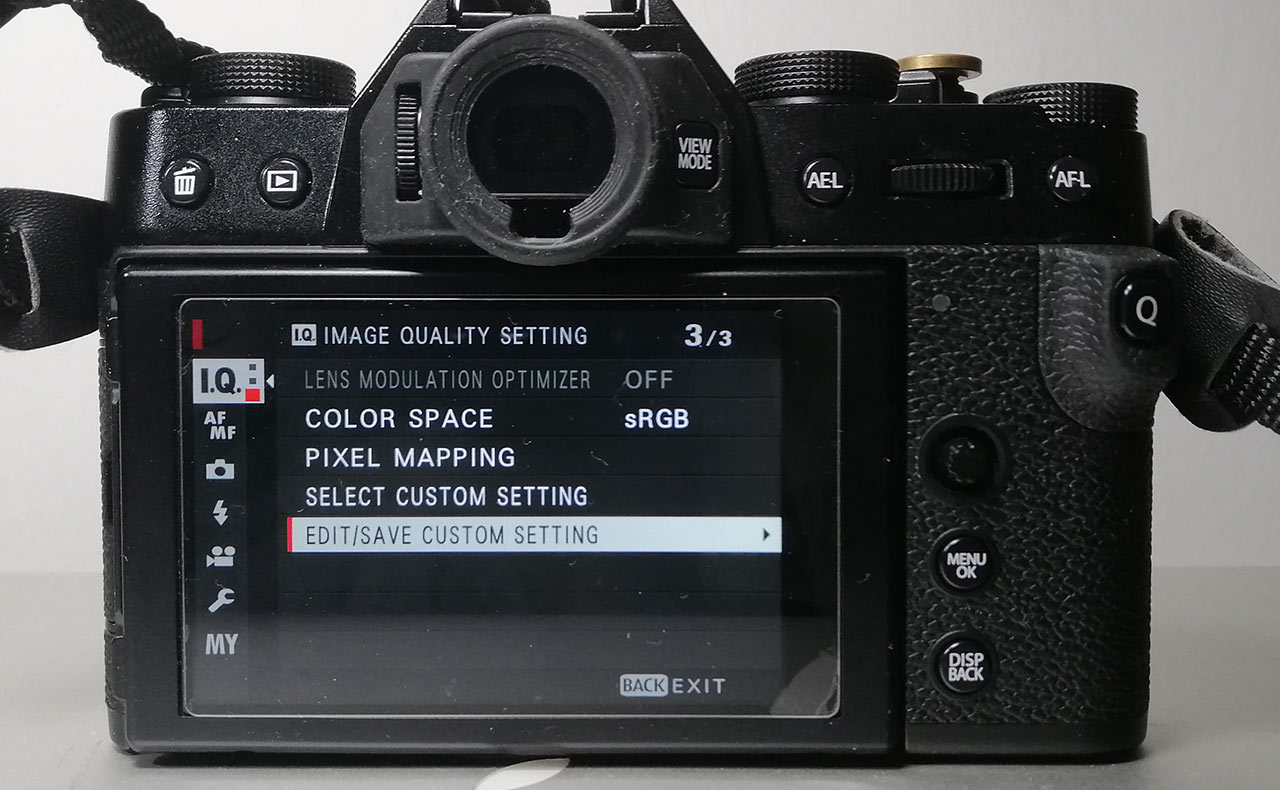
Press on the Menu button and you will find the I.Q. (Image Quality Setting) on the first tab. Scroll down to the last and find Edit/Save Custom Setting option.
Step 4 – Set The Recipe Custom Setting
Enter the settings for each option by referring to the recipe’s custom setting found on the FujiXWeekly website. Below is an example of a Kodak Portra 400 film simulation recipe custom setting for the X-T30.
Film Simulation: Classic Chrome
Dynamic Range: DR-Auto
Highlight: -1
Shadow: -1
Color: +2
Noise Reduction: -4
Sharpening: -2
Grain Effect: Strong
Color Chrome Effect: Strong
White Balance: Daylight, +4 Red & -5 Blue
ISO: Auto, up to ISO 6400
Exposure Compensation: +2/3 to +1 (typically)
Kodak Portra 400 Recipe by Fujixweekly
Step 5 – Name The Custom Setting
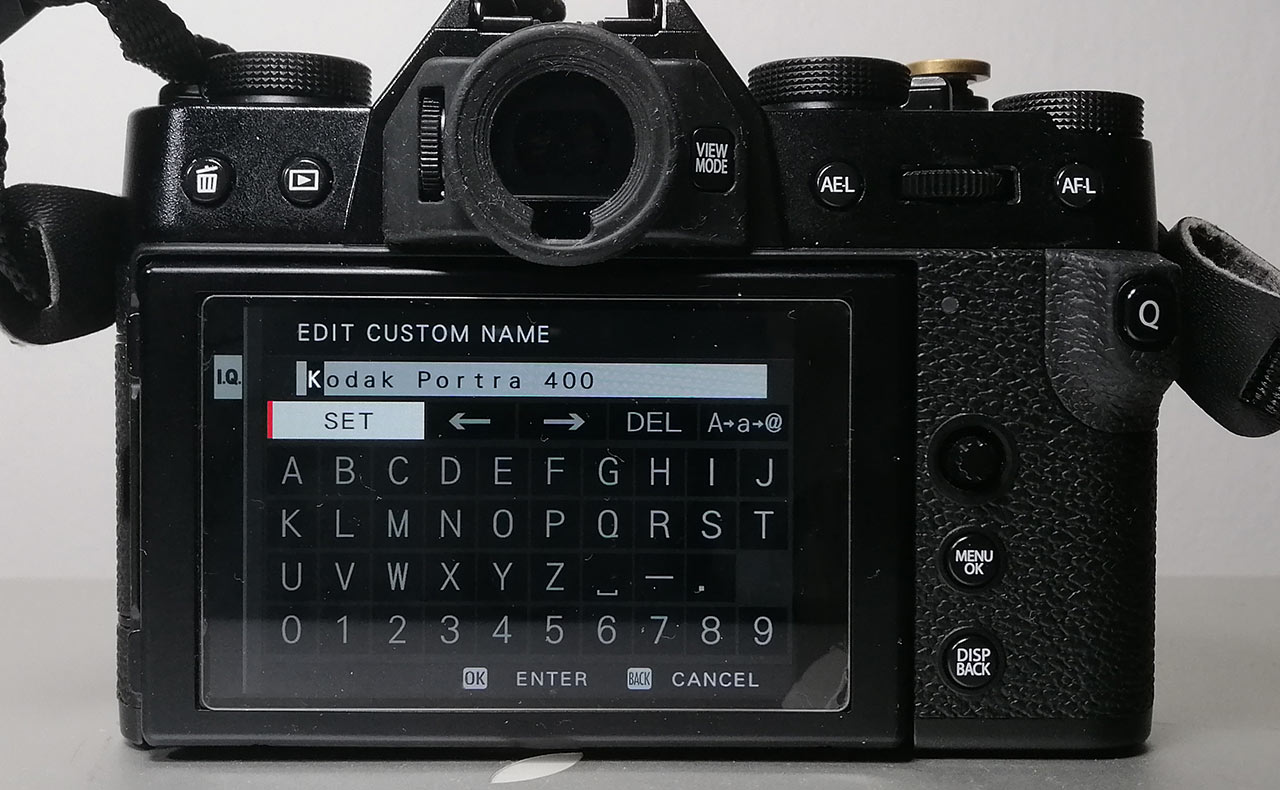
After entering all the options, save the custom setting by scrolling down and selecting Edit Custom Name. On this screen, you can set the name of the recipe.
Voila and now you’re done. You have successfully stored a film simulation recipe setting on your Fujifilm camera! So, what are your thoughts on the film recipes custom setting guide presented above? Please leave a comment below with your favorite film simulation recipe setting that you have saved in your camera. Guess what? You also might want to check out the new list of 7 best film recipes that are currently stored in my Fujifilm camera.


2 Responses
Hello! Thanks for the tips. Do film simulations not work in video mode?
Hi, film simulations will also work in video mode. You can save the custom settings the same way you did for still images.