Want to set up your own server but not sure how to or just planning to get out of the slow performance of a shared hosting environment? Well, you’ve just landed on the right blog post here mate!
Lets get started with setting up LEMP web stack (Linux, Nginx, MariaDB/MySQL, PHP) to host your first website. Yes, I’m using Nginx over Apache on all my production sites because it’s super fast than Apache webserver. It loads the website in seconds. Trust me, you’ll like the SPEED.
For configuration wise, NGINX will be a little harder to configure than Apache but no worries here, this is a very straightforward 15 minutes web server setup tutorial to get your web server up and running, hosting your website in no time.
First what you need is a VPS to get started here, i recommend Linode or Digital Ocean, websites like Nocturnal Malaysia Clubbing and this blog are powered by Linode. To get started a VPS with 512MB or 1GB memory is sufficient already for your new site/blog.
In this tutorial, i will be using Centmin Mod on CentOS 7 and it is a super quick installation of NGINX web server, MySQL and PHP. Lets get started!
Step 1 – VPS is all you need
Purchase a Linode VPS, starting with a 1GB for testing. I chose Linode over Digital Ocean because of its high-performance SSD server and affordable 2GB RAM VPS at $10 per month compared to Digital Ocean’s 1GB at $10 per month. That’s an additional 1GB RAM indifference, you know?
Step 2 – Pointing Domain Name To Your VPS
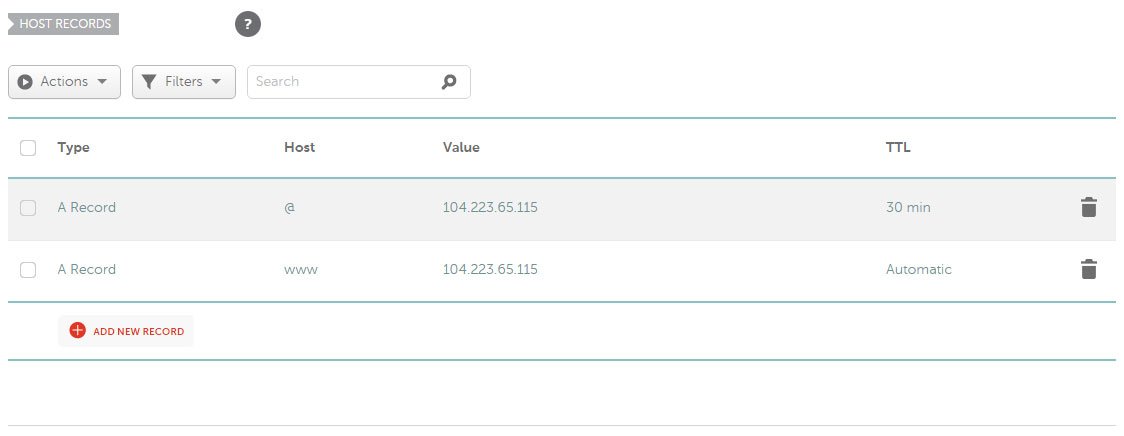
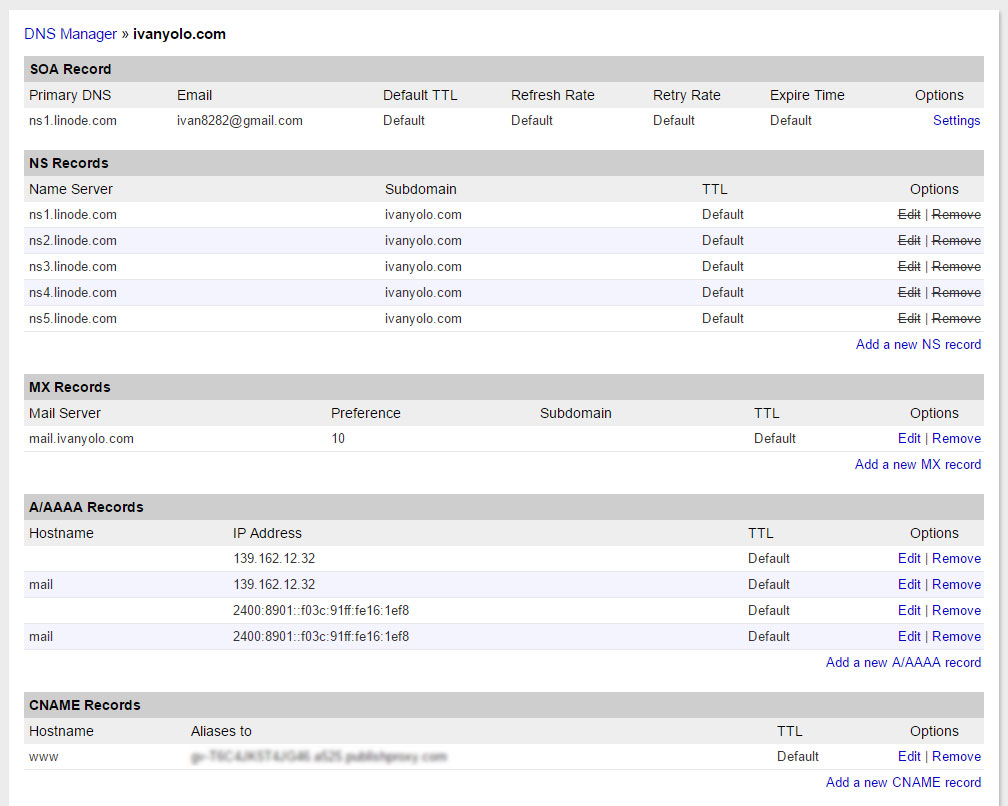
Point your domain name to the VPS IP address. You can use the DNS Management provided by your domain name registrar or the website where you have purchased the domain name. E.g on Namecheap, we access Domain List and create new A records pointing to the server IP address. The easiest way is to use Linode DNS Manager if you have purchased a Linode VPS, it will create the A records for you on the go. Find out how to setup Linode DNS and all you need is just change the nameservers below
ns2.linode.com
ns3.linode.com
ns4.linode.com
ns5.linode.com
Step 2 – Access via SSH Console
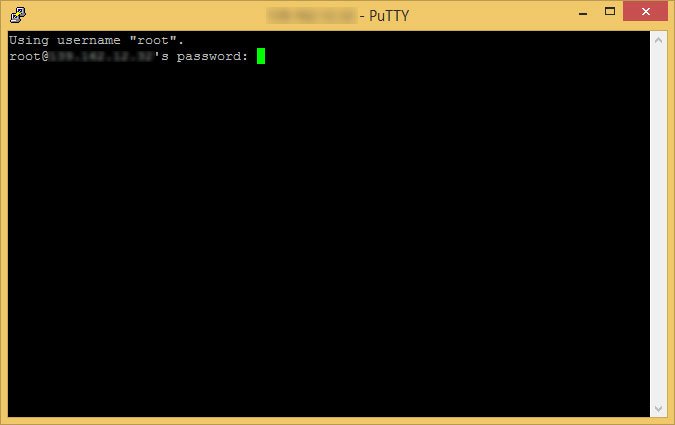
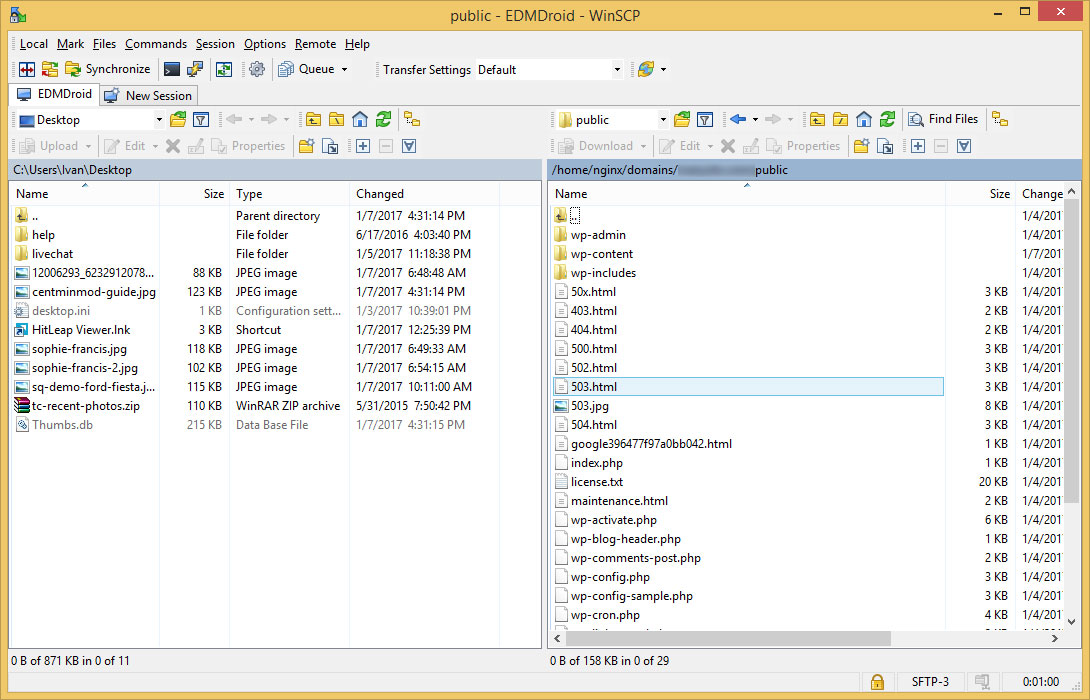
Access your VPS using SSH, you can use Putty to access SSH or use WinSCP with SFTP (For Windows). Login as root and enter the root password. You can create your own username for security purposes to prevent brute force attacks. In future, I will also guide you on securing your VPS. But right now, if you’re using it alone and nobody else then skip to step 2 and start with the installation right away.
passwd username
gpasswd -a username wheel
Step 3 – The LEMP Stack Installation Begins
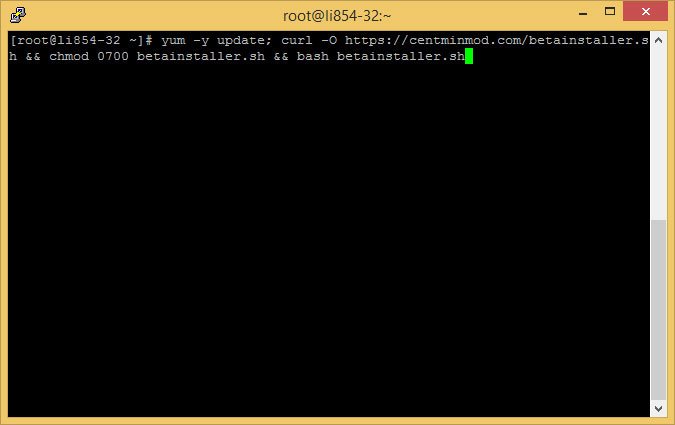
Copy and paste the command below into your console and press enter. The update for the CentOS will start and the installation of the NGINX web server, PHP, MySQL, and other services will take about 30 minutes to an hour to complete. Keep in mind you will only need to run this command once, that was your first time setting up your server.
Now, go grab an iced cold coffee drink, sit back and enjoy!
Step 4 – Centmin Mod Menu / Add Nginx Vhost
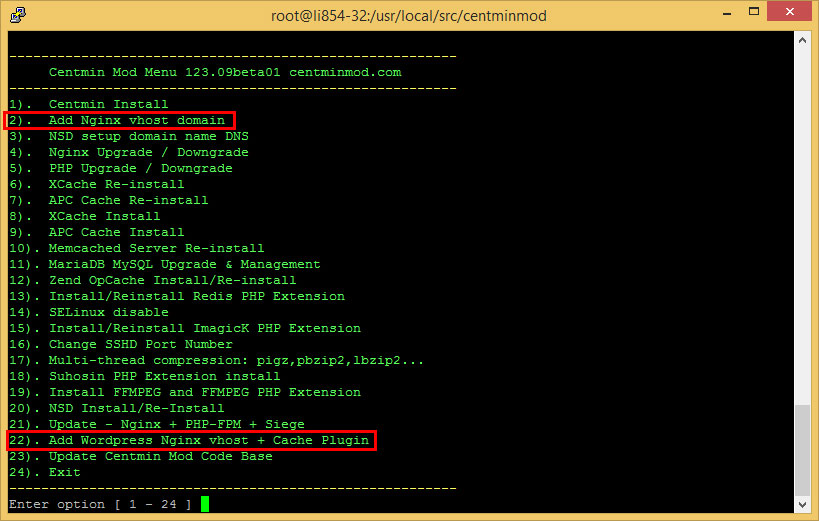
Adding a Nginx Vhost is to create folders and configurations for your website. If you want to use WordPress, access the menu and select #22 to add WordPress Nginx Vhost with Cache Plugin. Most of the time, you will be using this command to access the menu to do update. Type the command in your SSH below
./centmin.sh
Now you can access the menu (as shown in the picture above), select option ‘2‘ if you’re hosting HTML files or select option 22 to use WordPress. e.g select #22 and the script will install WordPress, create database and folders for you.
Wait until the WordPress Vhost installation to complete and exit the menu selecting option #24. You can browse to the following directory /home/nginx/domains/yourdomainname.com/public and to view all your WordPress source files.
Step 5 – DNS Propagation
Wait for at least 24 hours for the DNS propagation and always use intoDNS.com to check for DNS issues.
And… guess what? It’s all done! Now you have your super-FAST self-hosted WordPress blog on your own VPS server, and less worry with all the complicated Nginx rewrite rules.
But of course, you can configure the server even further for optimization once you have mastered Nginx and CentOS. You can update the PHP to the latest 7.0.14 stable with Opcode Cache, update Nginx, optimize MySQL database, PHP-FPM and as well enable the ultimately powerful Nginx Pagespeed module which we will be covering in our next guide.
Current LEMP Stack setup as below
CentOS 7
PHP 5.3.29
Nginx 1.11.8
MariaDB 10.1.20
Wordpress 4.7
#Tips – For an unmanaged VPS setup, you always need to keep the server, scripts, applications, and services updated with the latest security patches, this is necessary tasks to do to keep your server updated all the time and secured.




This Post Has 2 Comments
Pingback: How To Setup Linode DNS & Custom Nameservers - IvanYolo
Pingback: Moving from Shared Hosting to Linode VPS Hosting | IvanYolo